Geraghty Anne's Summer Project 2014

Image

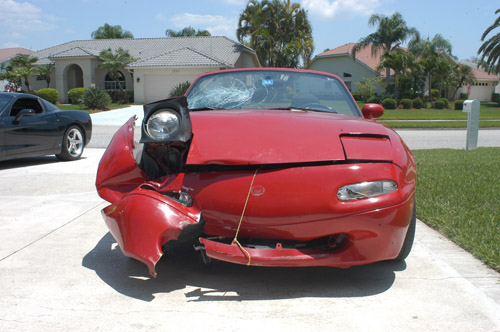
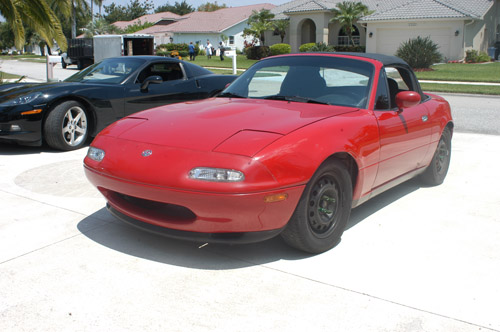
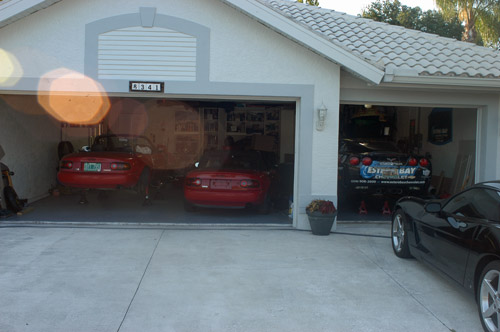
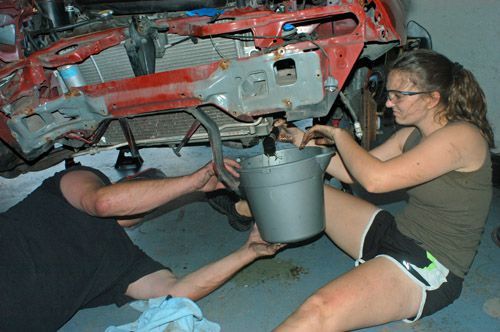
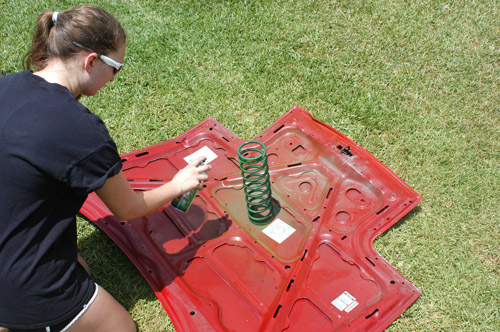
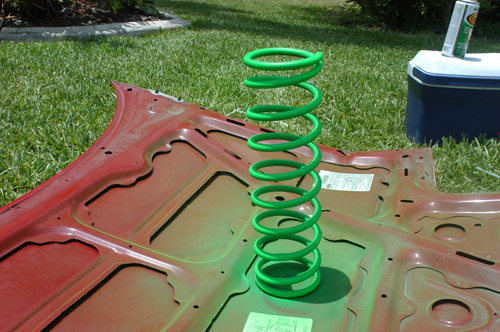
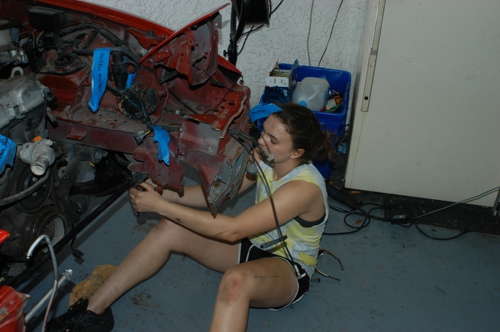
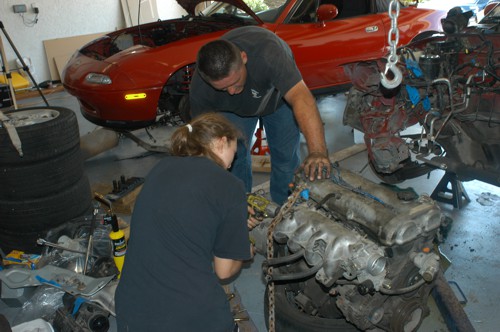
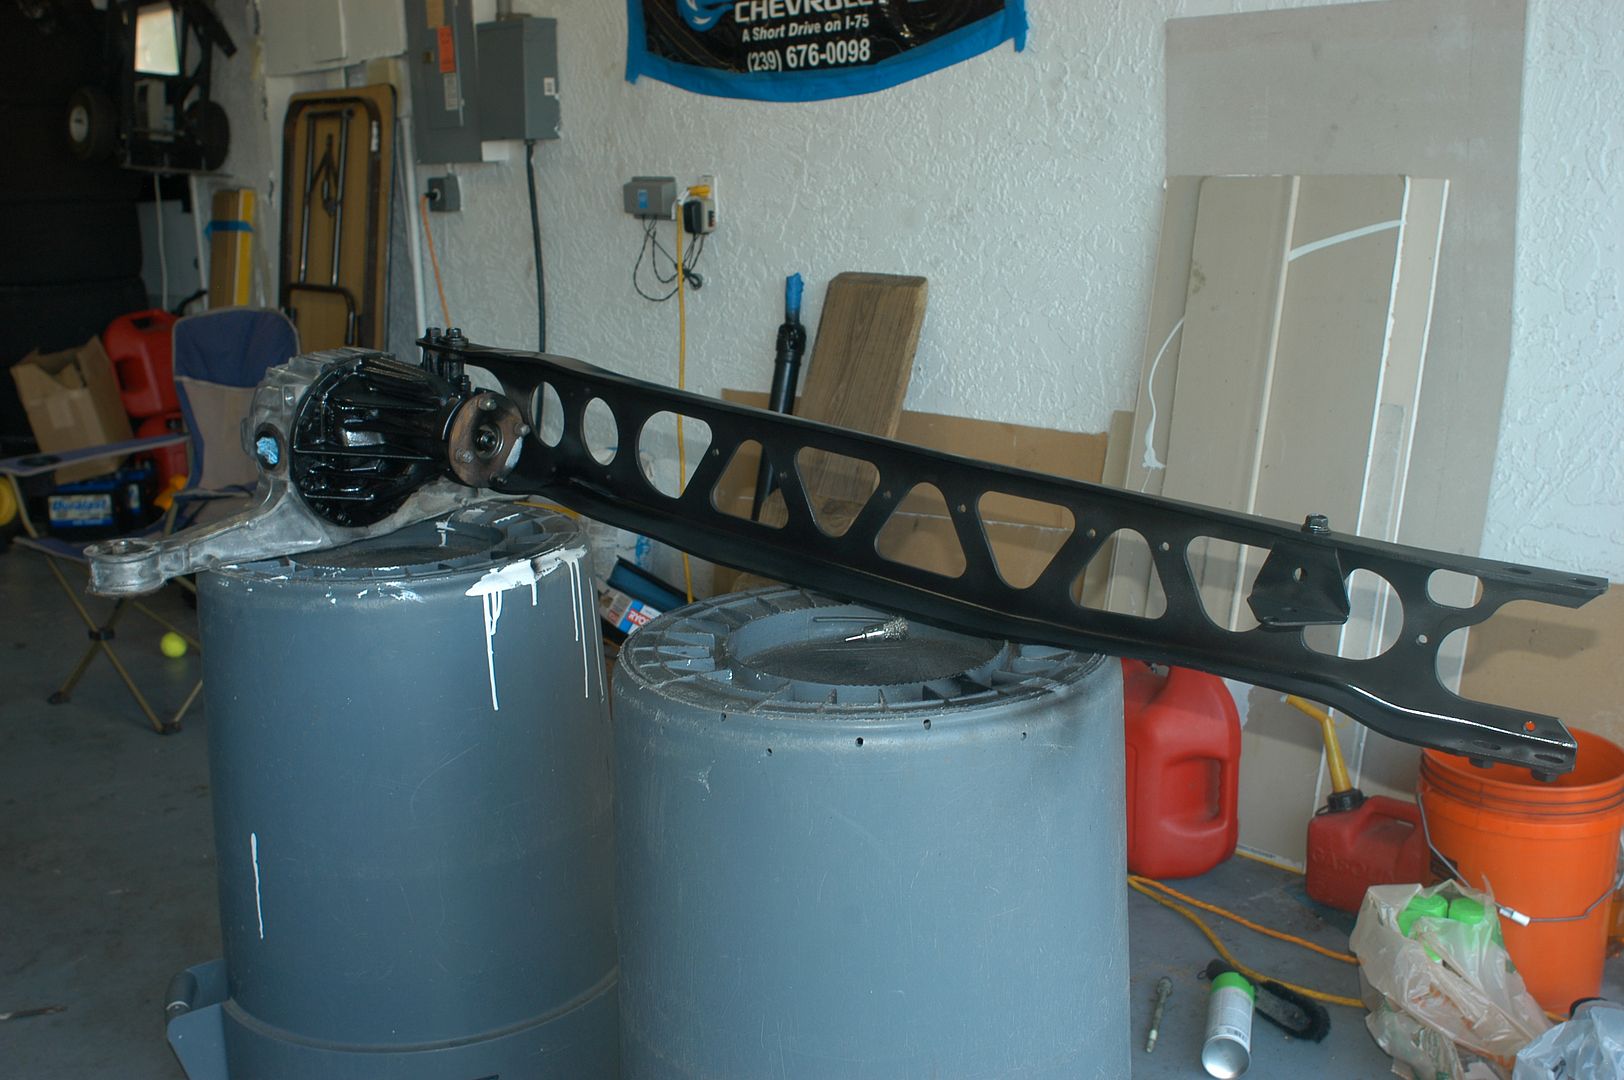
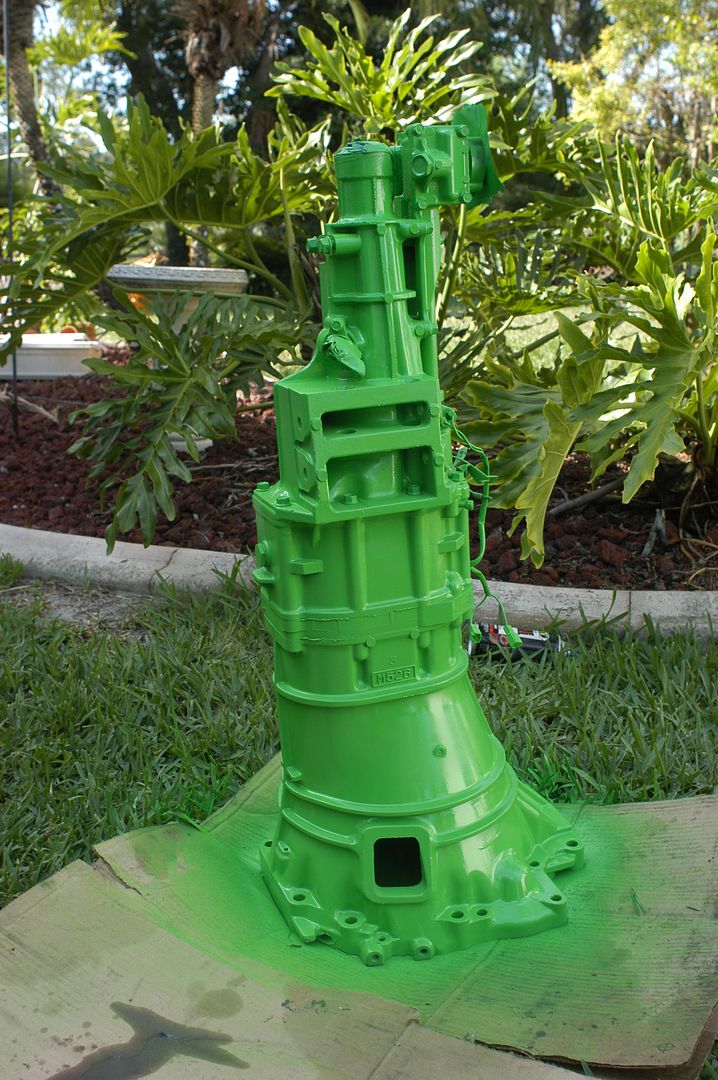
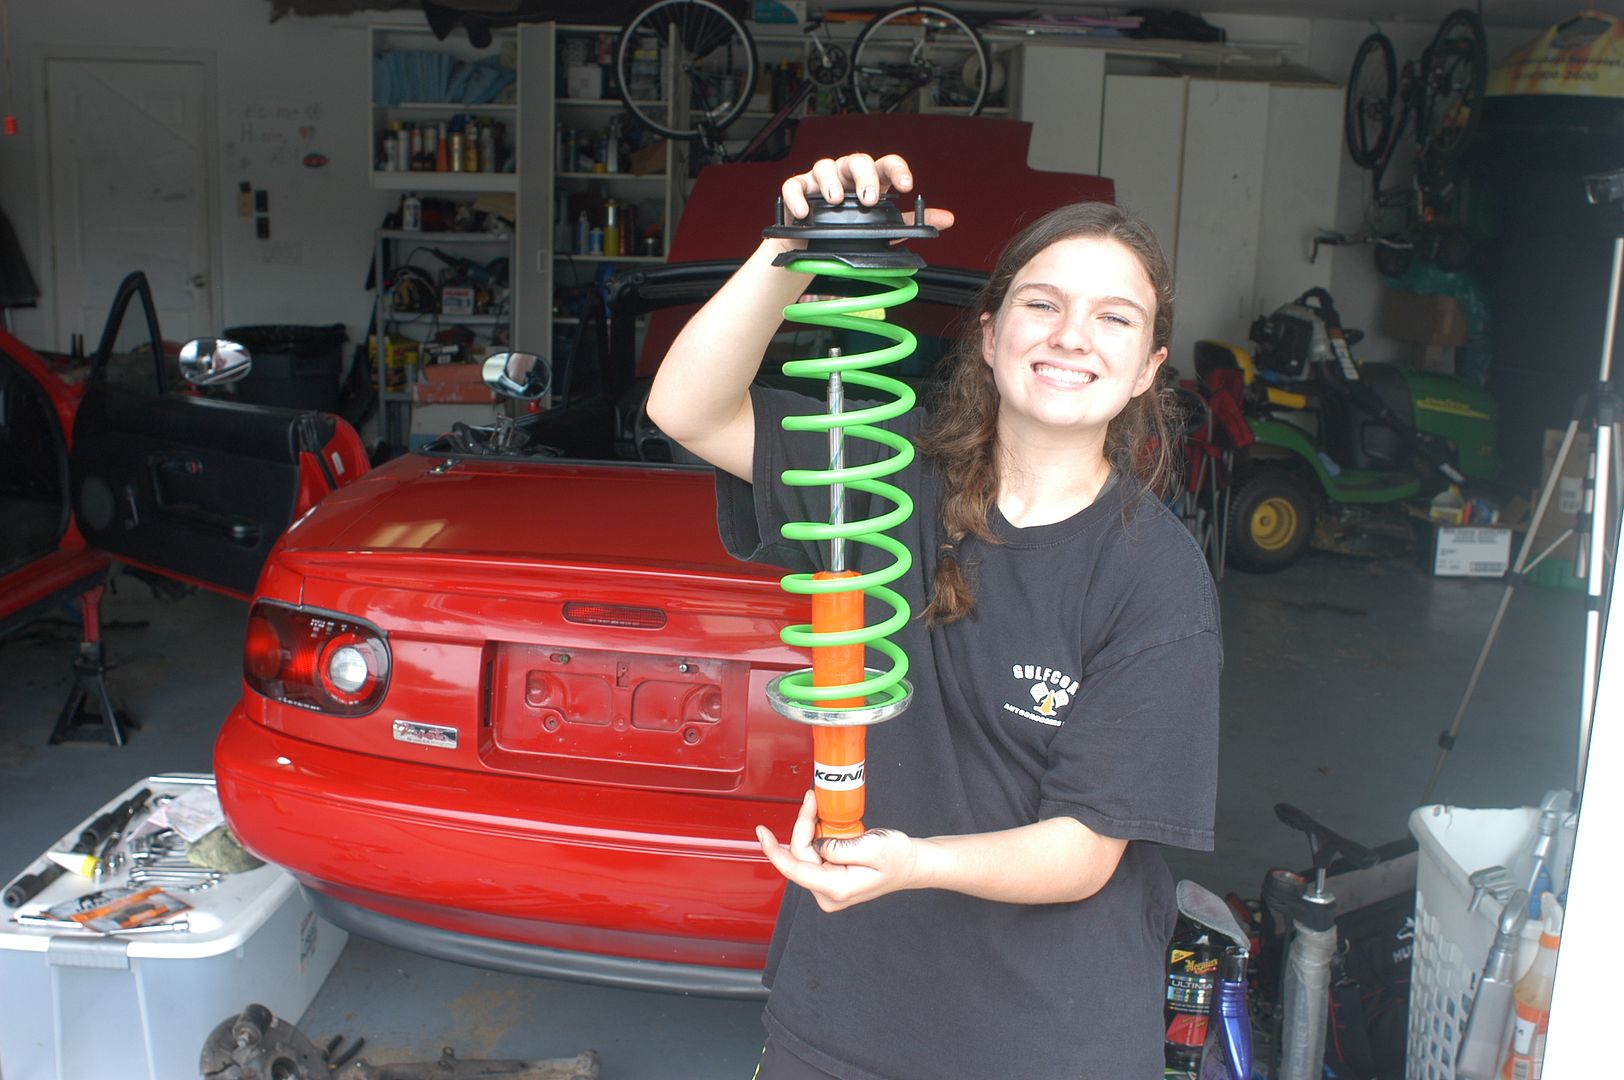
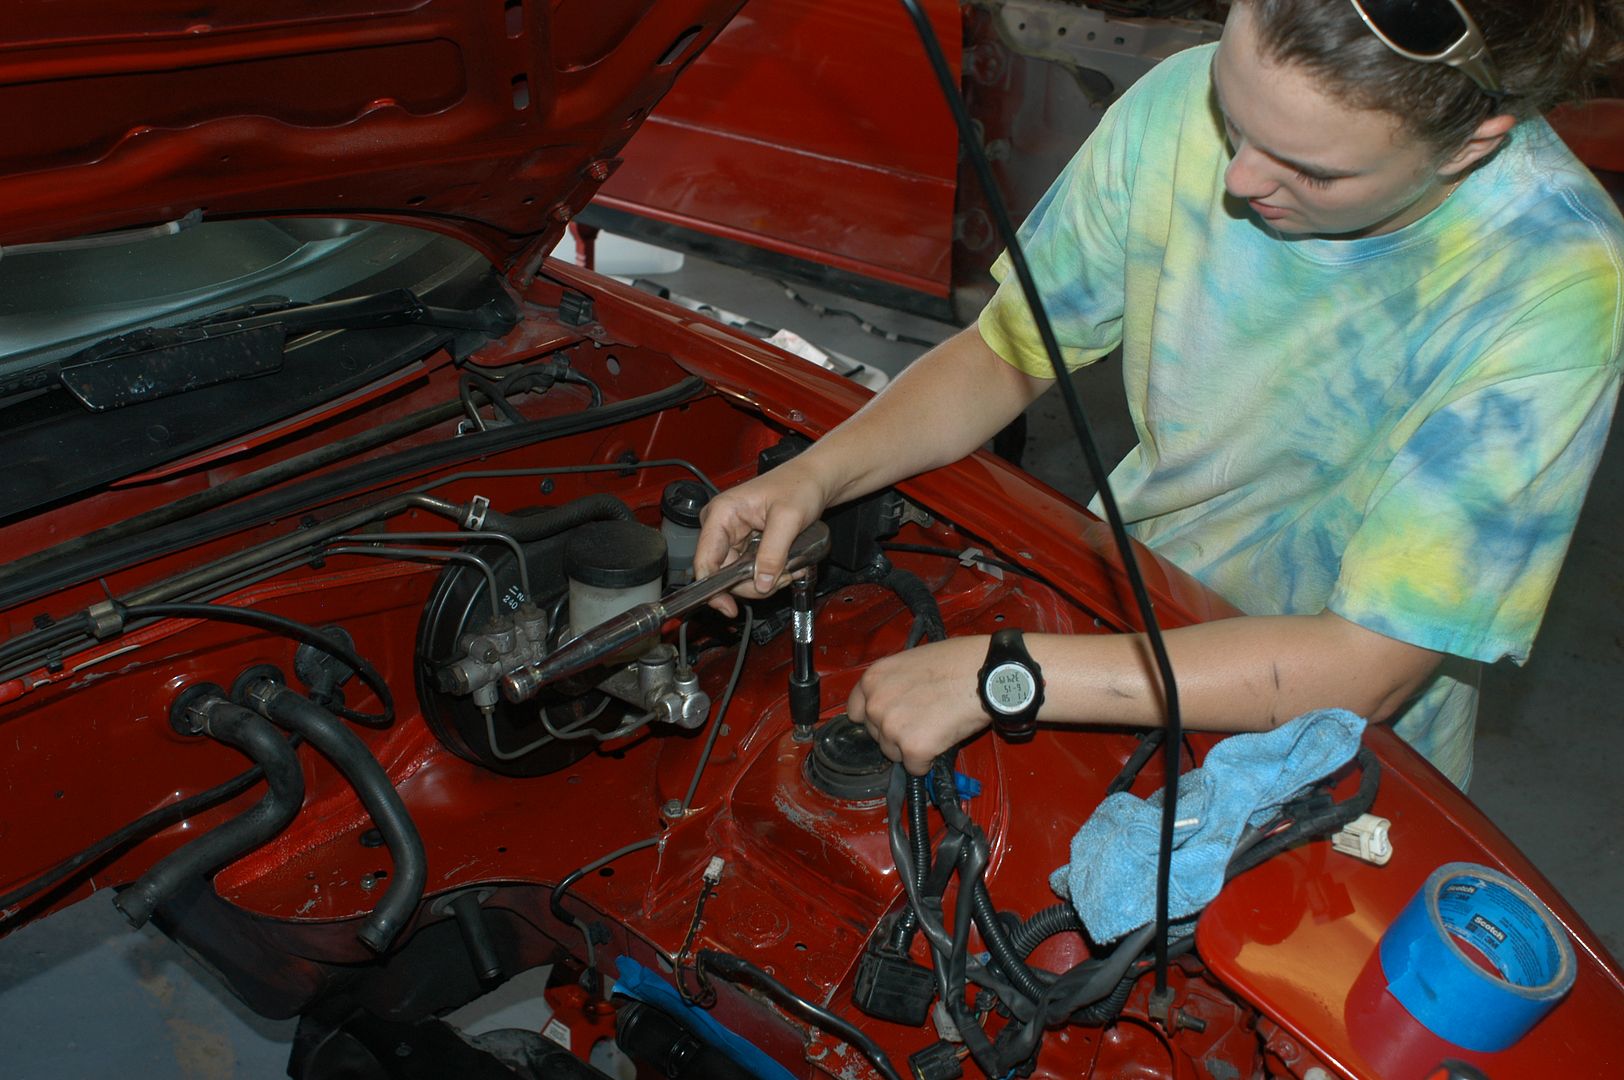
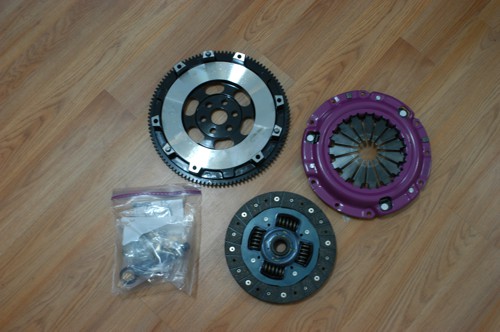
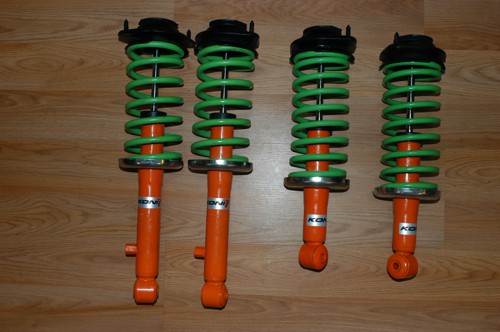
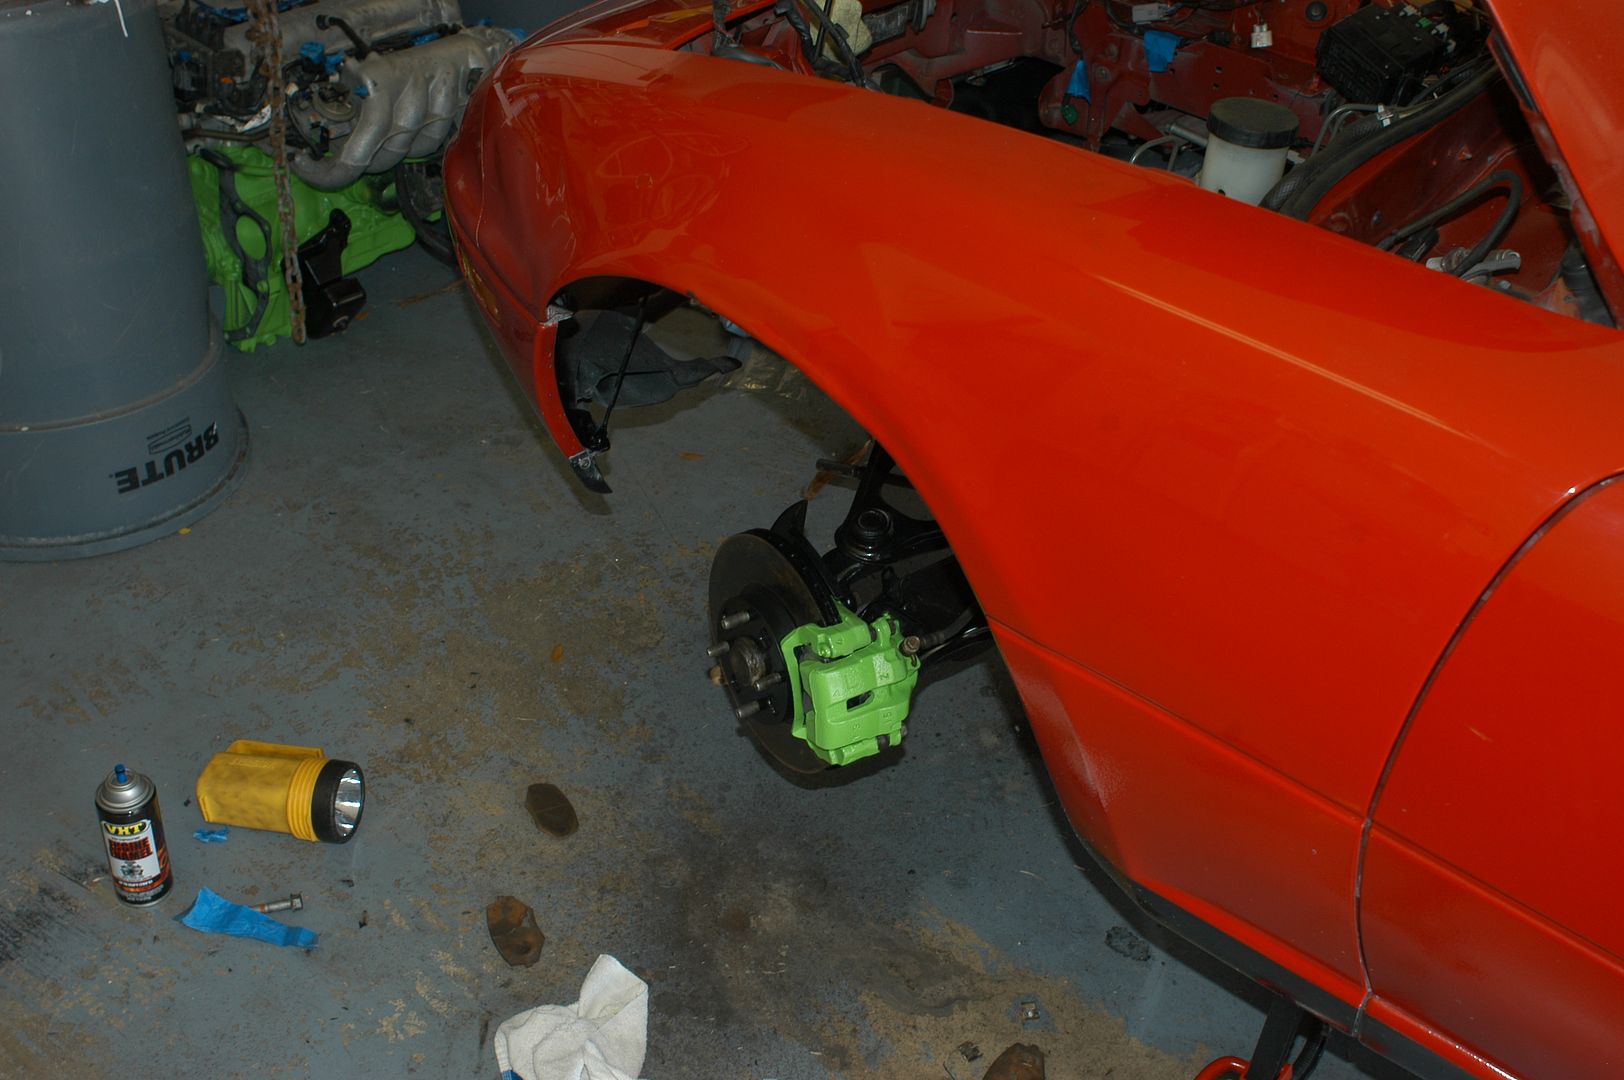
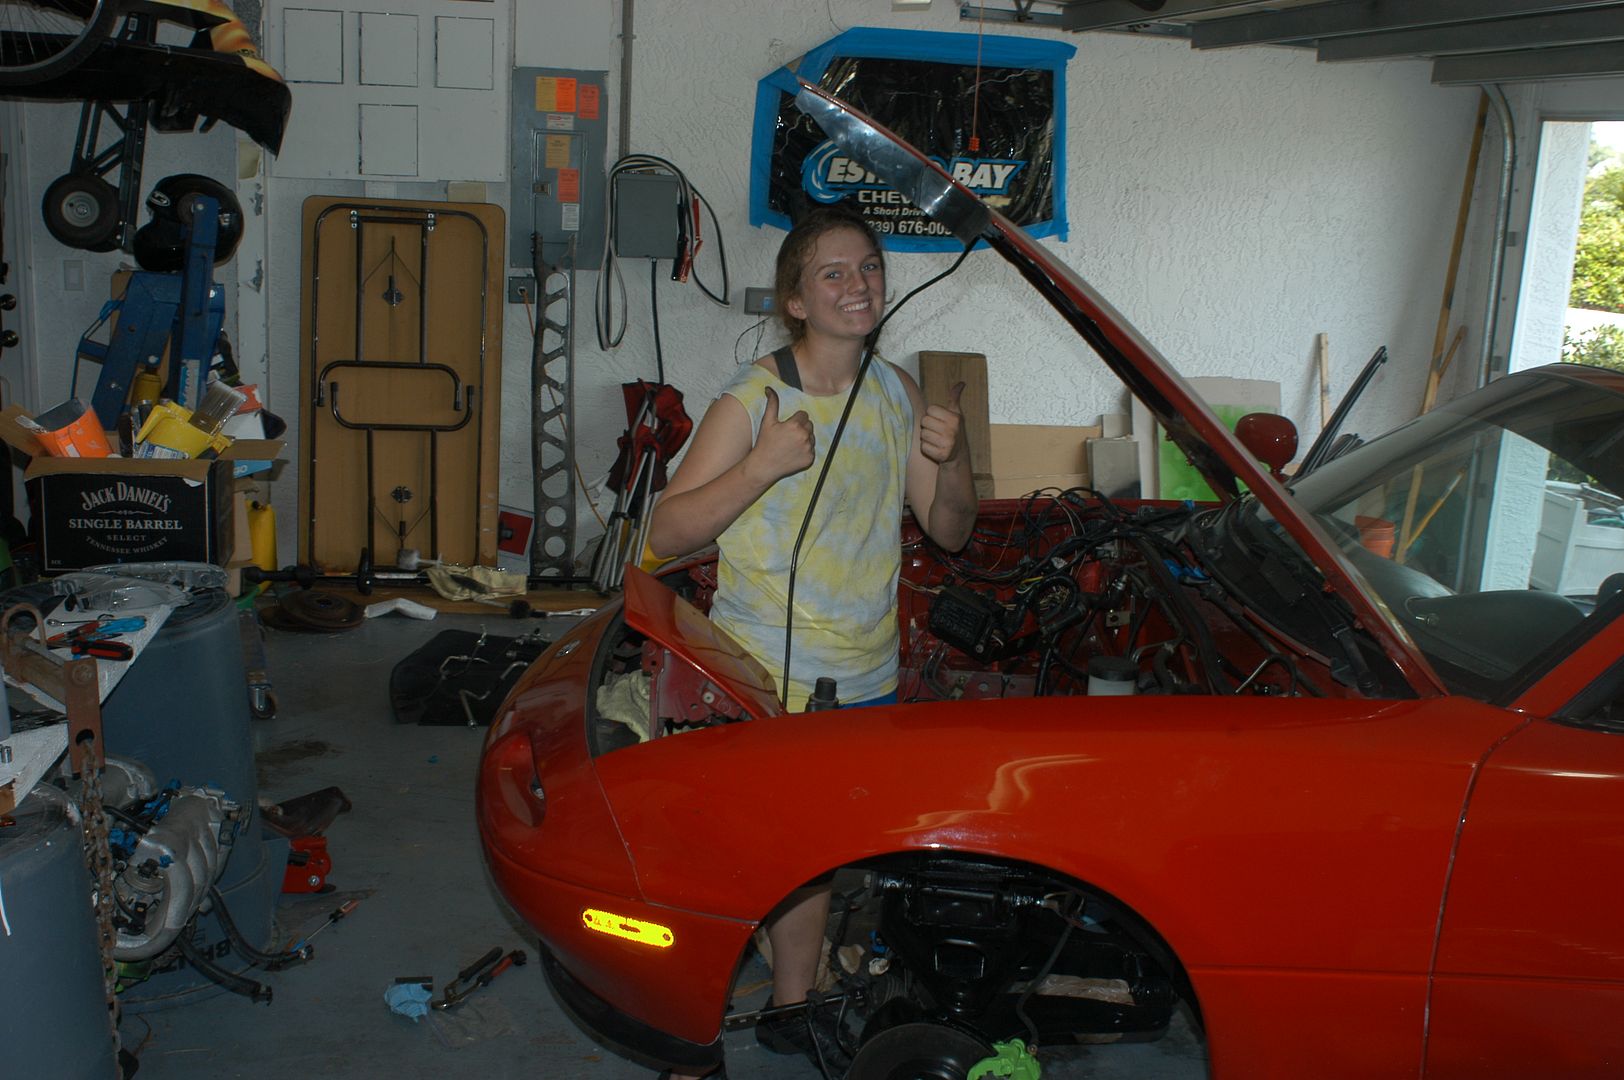
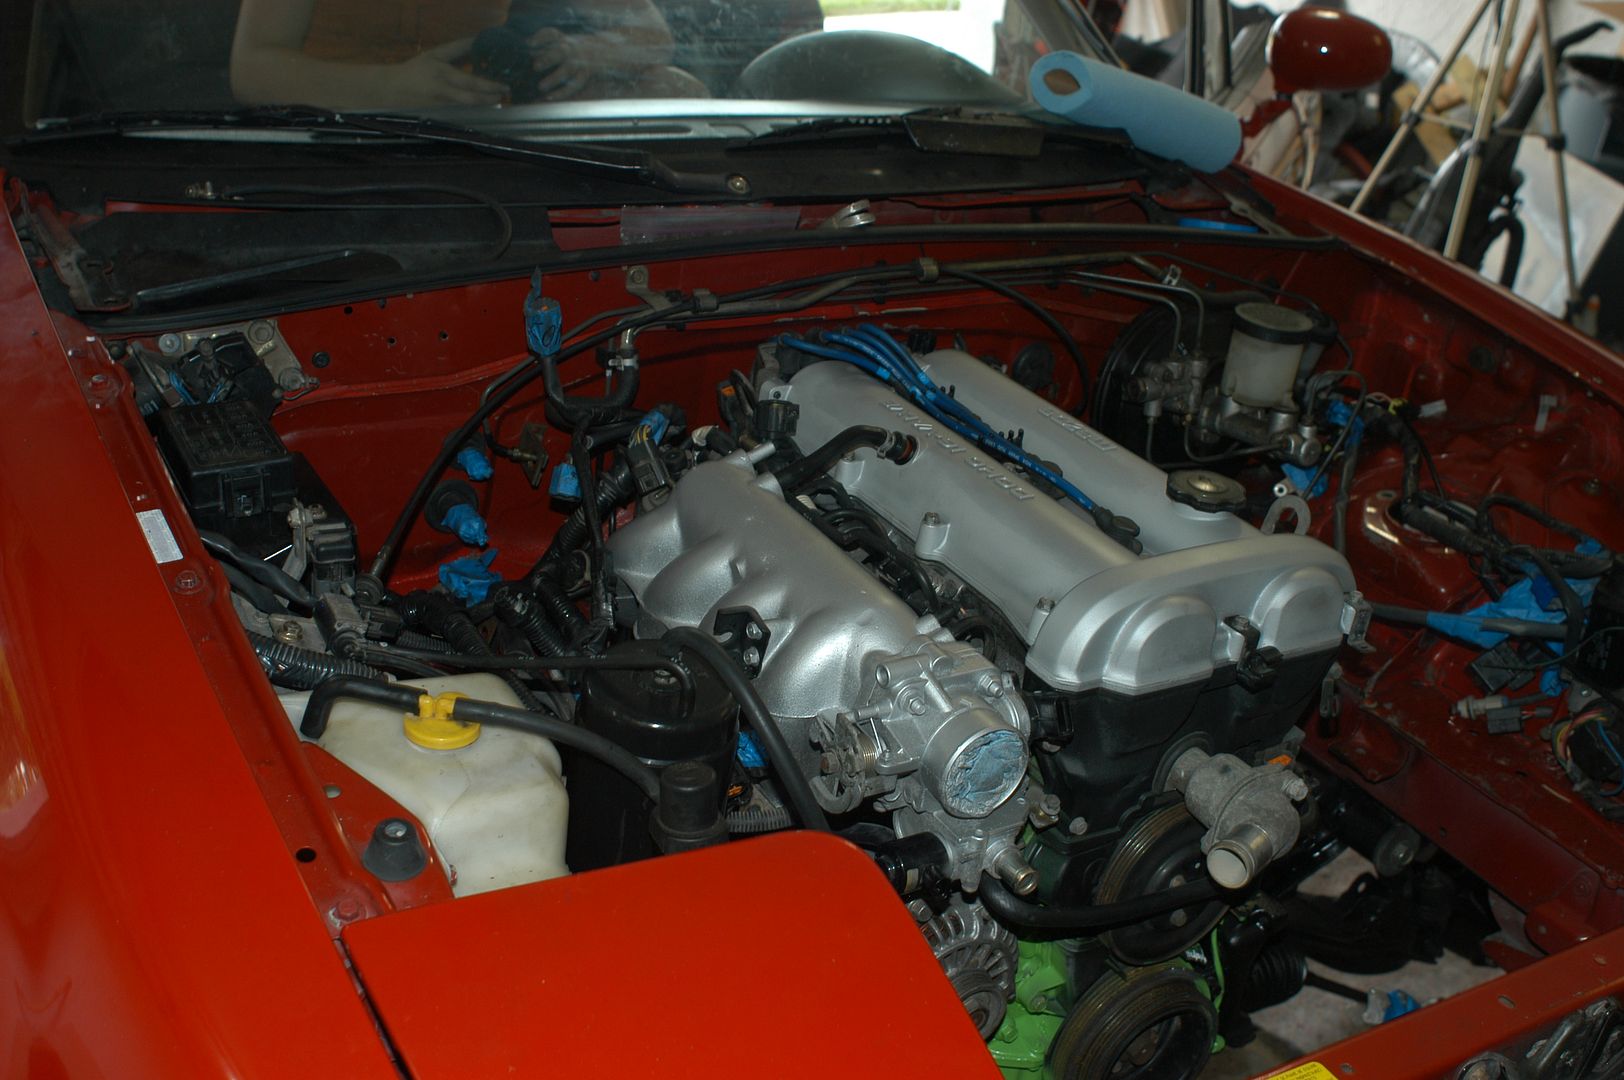
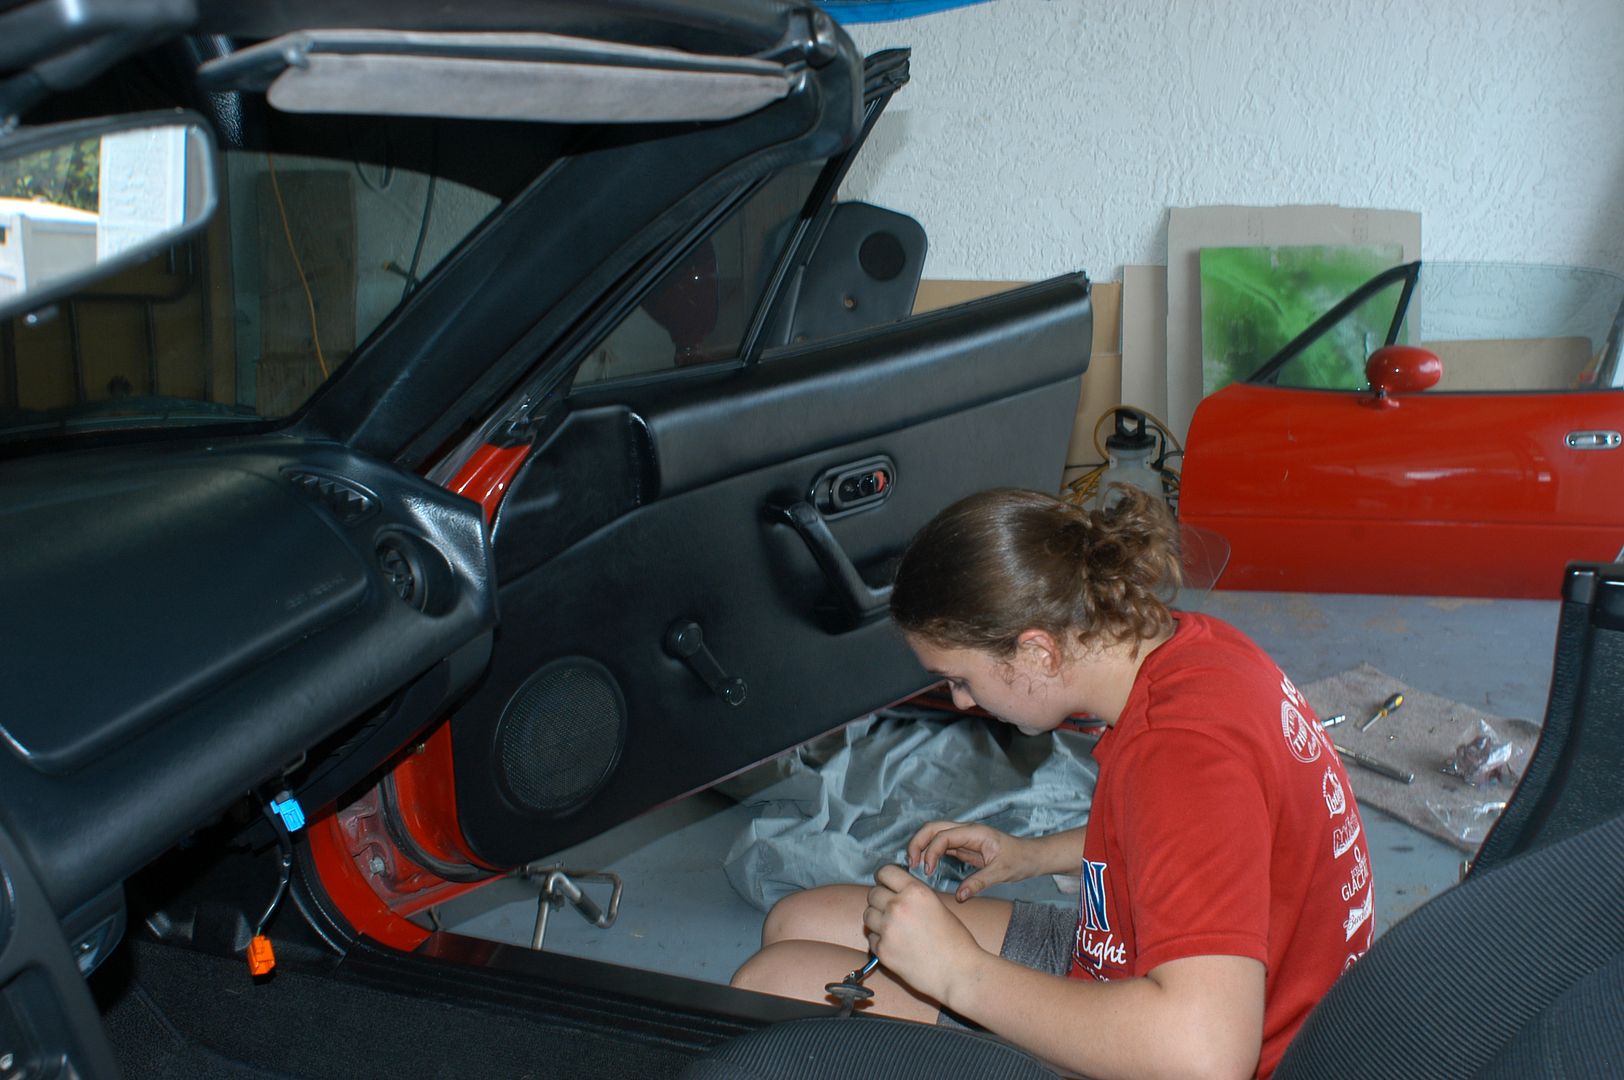
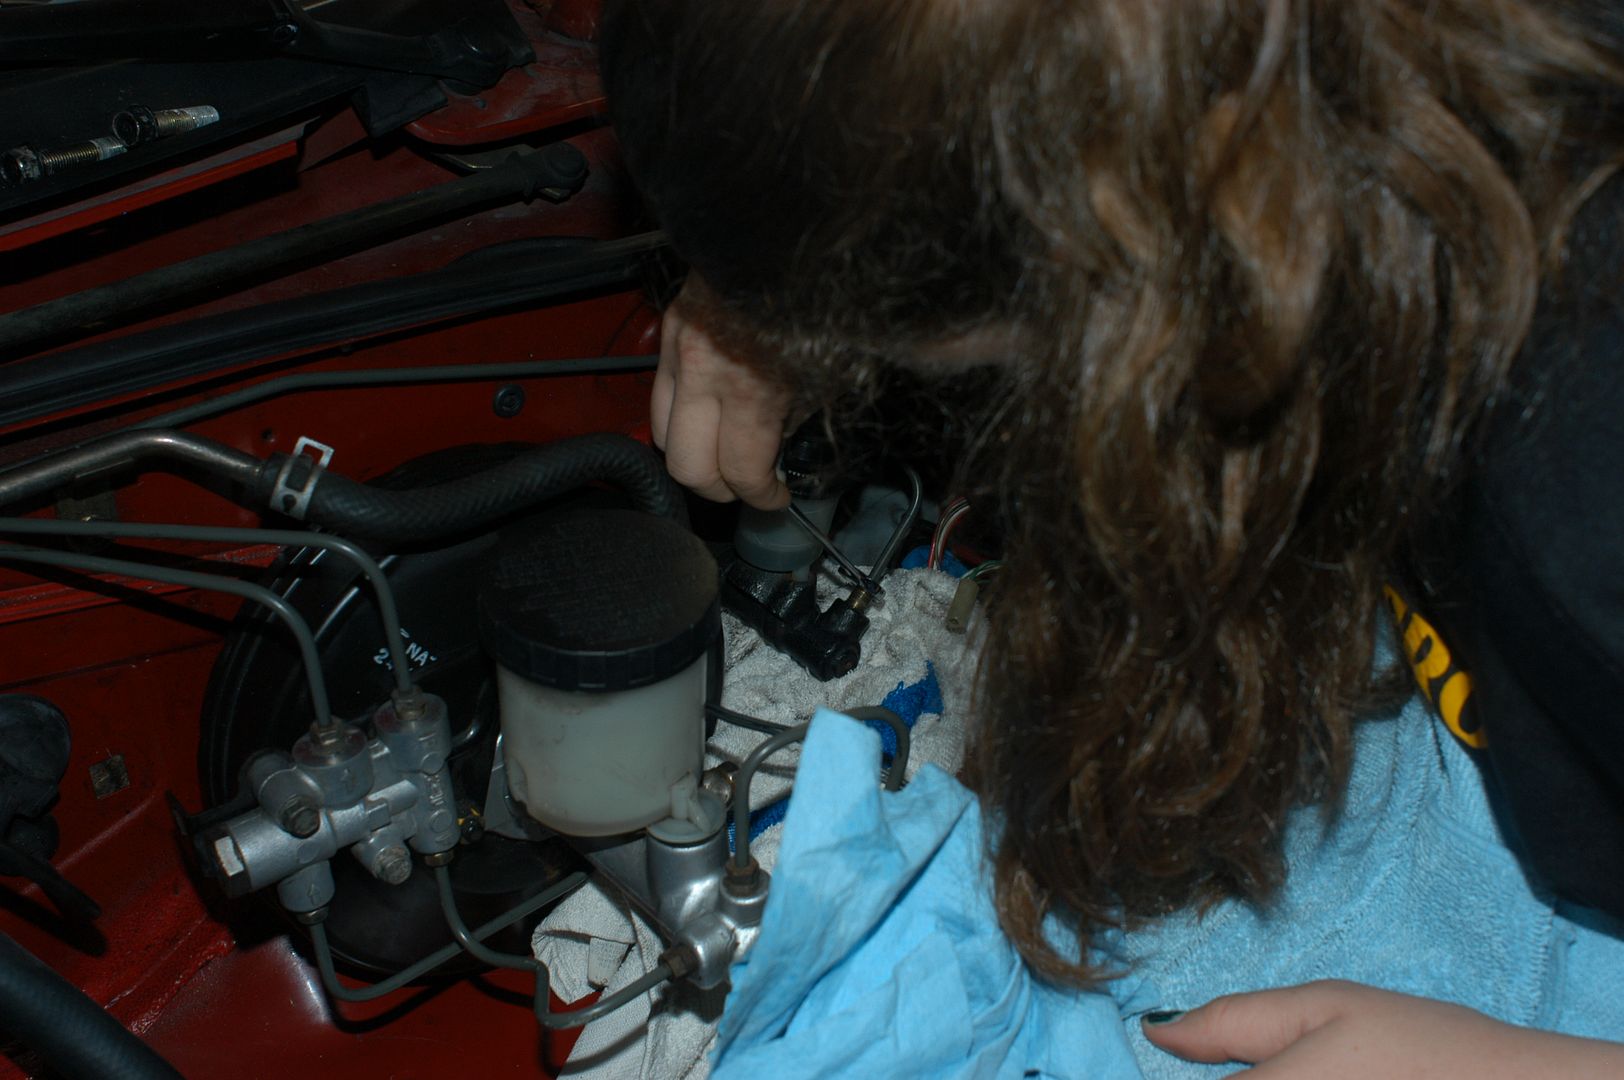
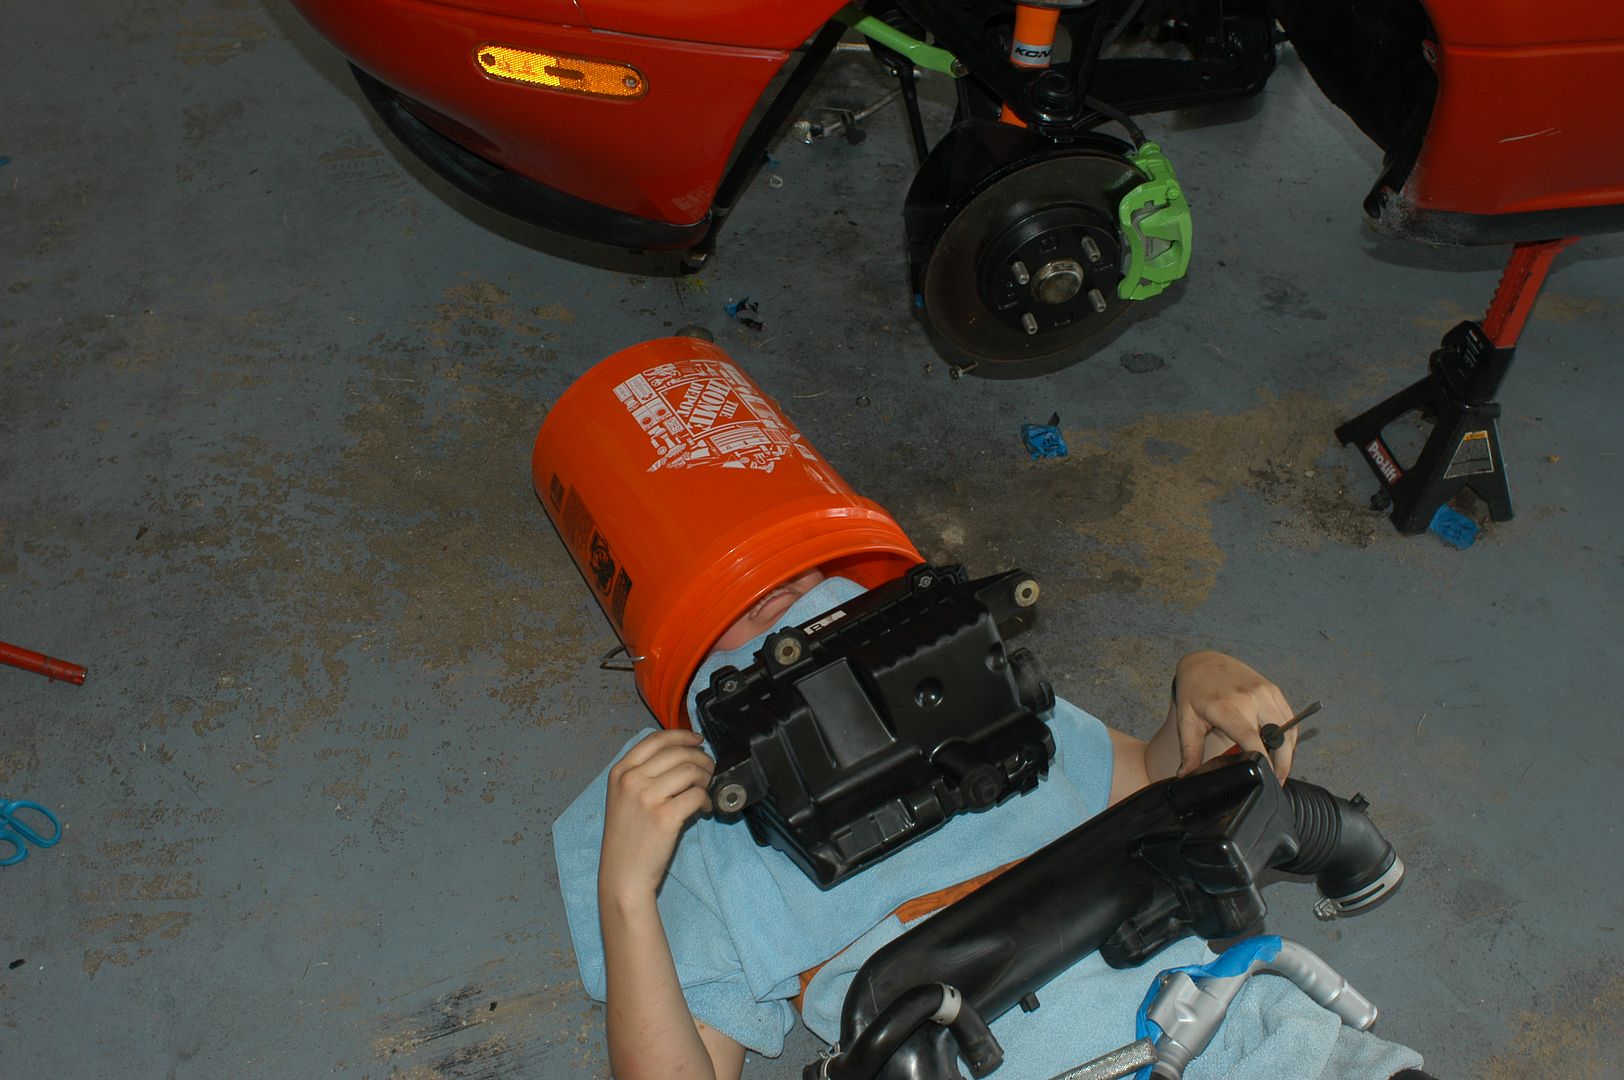
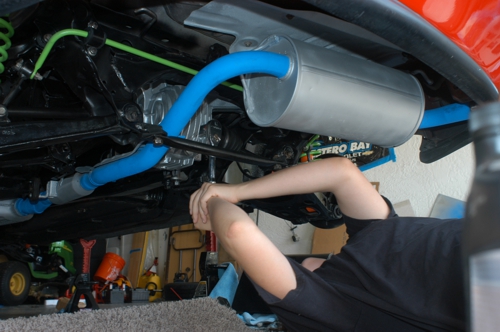
This page is dedicated to my summer car project before I enter my Junior year. Update: I built a 2nd Miata over Christmas 2016.

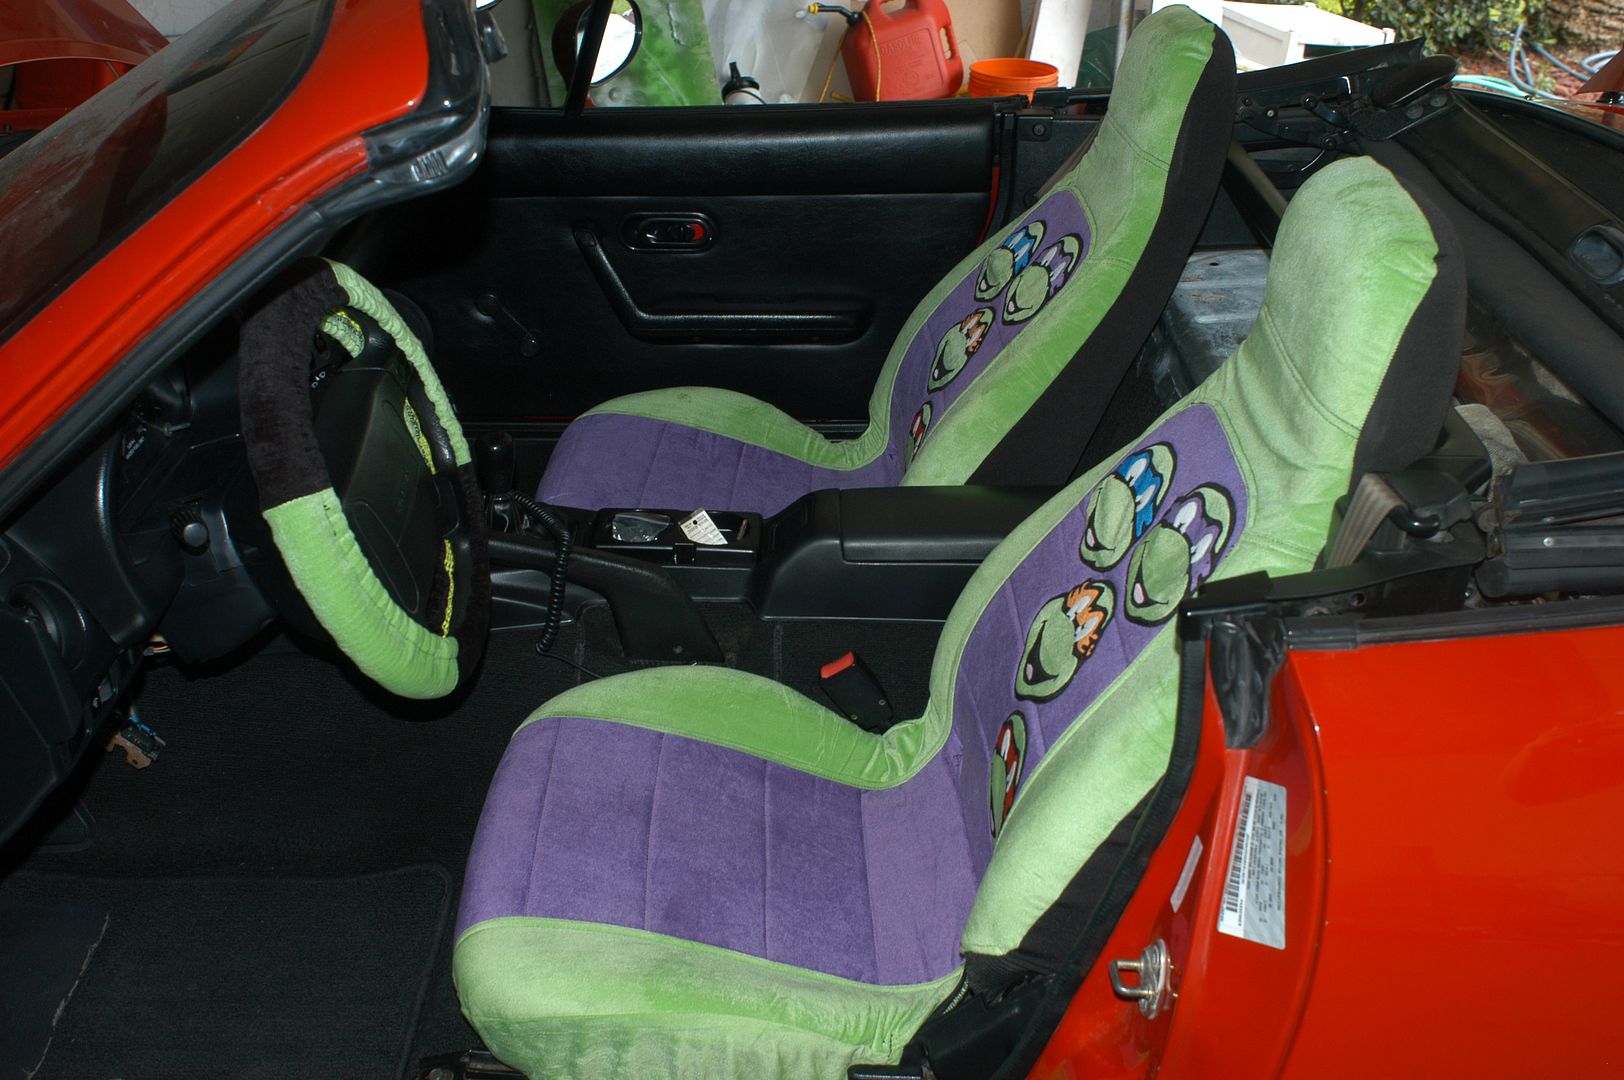
Since I was little, I've been into cars and racing (and Ninja Turtles :) ). I used to help wash the cars as an infant (okay so it was more like moral support), and at eight I experienced my first autocross in my dad's 2005 Corvette. Relieved we didn't explode, I was hooked from the moment we spun through the finish line; minus two seconds for awesome! I learned to drive automatic in Dad's '07 Tundra and manual in the '08 Z06.

I plan to earn a degree in Mechanical Automotive Engineering at a college that has a Formula SAE program and hope to work for a supercar company like Koenigsegg.

Date
Description
Links

5/23/2014

Today was the last day of my sophomore year! Last weekend I bought two red Mazda Miatas with my own money. I purchased a wrecked 1996 Miata with a 1.8L engine, 5-speed manual transmission, and a Torsen differential for $600 the same day it was listed on craigslist; I was lucky as some other Miata enthusiasts showed up and tried to buy it just after the deal was closed. Later that day, I also bought a 1994 Miata R body for $800, in fantastic shape for it's age. This summer, I plan to give these "fixer-uppers" some much needed TLC and merge them to create my "magnum opus" (at least until I build a Koenigsegg) - on and off the track. Wish me luck and check back frequently to follow my journey. Cowabunga!... G.A :)

This is the 1996 Miata with a mere 96K miles on it's engine and a perfect soft-top and interior, with a complementary dead frog. The goal is to move it's assets to the 1994 body, including the drivetrain, interior, top, and door handles. This car popped up on craigslist in St. James City, FL on May 19th, 2014; unfortunately, I was stuck at school while my parents made the deal. They bought it sight unseen, which made me trepidacious because the last I had heard prior to the purchase was that my dad took my money to buy a car without a picture or phone number in it's listing. That afternoon was hectic, but I was ecstatic when my "new" car drove up, or rather was towed up, to the driveway. It's a perfect donor for this project, and I'm glad we successfully pulled off the deal.

Image

This is the 1994 Miata shell that will house the salvage of the '96. We found the car on craigslist too, but it turns out the owner knows my dad and has raced with him in the past. He was asking $1,000 for the car, and I was extremely grateful he lowered the selling price. Today, Dad and I discovered why the '96 wouldn't start - the main fuse was blown and practically melted into the fuse box; we switched it with the one in the '94 and plugged in a working battery. As I turned the keys, the engine roared to life. Zoom, Zoom! I drove a bit around my neighborhood, styling with a dragging fender, cracked glass, and blown airbags.

Image

Dad bought the second set of jackstands, which we'll use to lift the '94 alongside the '96. Our garage looks like a gear head's dream. Mom is not the happiest since her SUV will be "banished" to the driveway for a month or two.

First drive in Miata.

We fixed the fender liner rub and Dad took it for a quick spin.

Image

5/24/2014

Today I jacked up the '94 shell and took the tires off. The rims are rusted, and those tires will be thrown out; however, I'll probably use the green lug nuts over the chrome ones for an eclectic feel. I also started taking apart the front of the '96; I removed the front passenger fender first, damaged by the car accident. Afterwards, I unbolted the front facia, a part I plan to keep and set next to Dad's Z06 facia from his Bay Bottom Crawl bush mishap. I also removed the impact bumper and tried to take the rest of the metal framework off, but after practically six million nuts and bolts, I figured it was attached to the rest of the framework, so I'll probably have to sawzall it off. Since the '94 headlights are missing, I removed the '96 headlights to put in the shell. Additionally, I disconnected the horn, drained the radiator fluid (which smells a lot like Pine Sol), and disconnected the radiator hose. Four hours later, I've made a lot of progress and I can't wait for tomorrow!

Image

5/24/2014

Here are all of the pictures from today.

5/24/2014

5/24/2014

5/25/2014

Today Boris came over and we made a ton of progress. He'll be my go-to guy for any questions as he's basically a Miata guru. The accident damaged the radiator, so I removed it; however, in order to gain eased access, I had to saw off the rest of the front cross brace with a grinder. Thanks to previous experience from STEM, the sparks didn't faze me like they did Mom. Afterwards, I removed all the hoses connected to the motor with the help of some needle nose pliers and disconnected all the wiring, including the fuel line, crank angle sensor, idle meter, and vacuum control. I completed the daunting task of removing the heat shield; the rusted bolts were so heat damaged, they had a tendency to break before coming out of the socket. I now have a nice gash on my knuckle too, but its an excuse to wear TMNT Band-Aids. :) I then unbolted the exhaust manifold. I also disconnected and removed the windshield washer reservoir, power steering pump reservoir, ac compressor, overflow tanks, and tow hooks. In the meantime, the motor is ready to move into its new home. Before I removed the '96 hood, I moved the wind guards over to the '94. Towards the end of our five hour day, we tried to remove the differential, but with the wrong tools, it proved an unsuccessful attempt. It's been a long day, and to top it all off, Boris gave me homework, so I'll have some things to do before he returns to help again!

Image

5/25/2014

Here are all of the pictures from today.

5/26/2014

Today was a slightly uneventful, yet colorful day; I started to remove the springs and shocks, by which I mean I removed one. The key to successful shock removal is disconnecting the sway bar first, and when taking a spring off of a shock, always wear safety glasses and point away from breakable objects like faces and automobiles as a spring will do just what the name indicates. While it was only one spring, it is now a very eye-catching spring; until I get the car running, I'm going to stick to stock parts, and then explore alternative modifications next summer, but while stock parts work the same regardless of whether they are a rusted black or a neon green, they sure look cooler! Yep, I bought some fluorescent green spray paint, for ninja turtle reasons of course, and gave the spring some much needed refurbishing. I ran out of time to do the rest because painting also involved sanding down the rust, but it's looking great so far! Fuel and differential fluid are leaking, so I have to sleep on the couch tonight, since my room is right next to the garage, and mom is afraid of me dying from the fumes.

Image

5/26/2014

Here are all of the pictures from today.

5/27/2014

So I tried to put the green spring back on the shock to put on the '94, but we had to run to the autoparts store to get a spring compressor and ran out of time to do anything productive. Although we got the fuel and dif. fluid to stop leaking so I get to actually sleep tonight. :)

Image

5/28/2014

Today I removed the front and rear sway bars from the '96. The front one gave me some trouble on the right side where there was still accident damage, but I eventually removed it. Dad and I experimented with the spring compressor without much success as the spring preferred to compress at a bent angle; a nice lawn man tried to help us, and Dad even used a pickaxe, but it was pointless. However, I think Dad knows where he can borrow a fancy professional compressor so I should be okay when the new shocks come in. Dad bought me Koni shocks; obviously they're not stock, but they cost about the same as new OEMs and the current ones are falling apart. Plus these are orange!

Image

6/1/2014

Today was a "destruction" day. As the engine is ready to be pulled out, the borrowed hoist came today. Boris helped me remove the left rear axle nut with the assistance of extremely high tech equipment such as a hammer and a torch. I removed the lower control arms and axles, successfully took out the shocks and springs, and detached the drive shaft, the exhaust, and catalytic converter. The differential and drive shaft support brace came out after I disconnected the wiring. Unfortunately, there's a pin in the dif, so it's not a Torsen, only an open. A Torsen differential is more desirable because it distributes power proportionally to the right and left rear tires, whereas an open differential allows the inside rear tire to spin. I unbolted the center console to examine the shifter boots which need to be replaced. The windshield lost the remainder of its values as my father and uncle found humor in smashing it with their fists. Great plans for next weekend!

Image

Here are all of the pictures from today.

6/1/2014

6/7/2014

Eight hours and several cans later, I have a shiny new (looking) engine, differential, and transmission; foamy engine degreaser is a girl's best friend! With the help of Dad and Boris, the engine moved from the '96 to my yard where I scrubbed it with degreaser and brake cleaner to remove twenty years of dirt and grime. With a clean surface, the ninja turtle theme came to fruition with a green block and accented black brackets. The transmission is the same color green and the differential, drive shaft, and drive shaft support brace are black; although I suppose no one will see most of it, I will know it's there, so it's the thought that counts. I also removed the exhaust manifold, clutch, and flywheel. Boris explained to me how the transmission works, which was really interesting. He gave me more homework to fix the chaotic wiring in the '94. I also moved the fuses back to the '94 box, maybe insignificant, but now it's done. Today was long but very exciting, and it definitely reaffirmed my goal of becoming an automotive engineer! These are some before and after pictures of what we worked on today.

These are some before and after pictures of what we worked on today.

Image
Image
Image
Image
Image

After pictures:

Image
Image
Image

6/7/2014


6/14/2014

Today, since the electrical work is at a hiatus, Dad and I worked on many cosmetic components of the car. I removed the seats from the '94 and '96 and plan to switch them as the '94 seats are ripped; however, because the '96 was previously in a flood, the bottoms are really rusted, so we waited to put any seats back in. When I took the seats out of the '96, I found beef jerky, sun tan lotion, a golf score card, a letter from the IRS, french fries, and a bunch of change. If only cars could talk! On a humorous note, Dad fits in Miatas with some difficulty, but without any seats, he fits perfectly! Additionally, I reconditioned all rear subframe suspension parts, including control arms and axles and painted them a glossy black. I also finished painting the springs green and packaged them with the shocks to be compressed together. Everything is starting to come together!

Image

Here are all of the pictures from today.

6/15/2014

Happy Father's Day! More cosmetic work today. I painted the sway bars green and the end links black, making them look brand new. I vacuumed the '94 carpet too. Since the '94's trunk lid was destroyed on the inside, I switched lids and took the spoiler off to be put back on the '94. Dad doesn't think it's an actual R-package because of the way the spoiler was attached to the trunk--two screws, some double stick tape, and some washers--but if I put it back on, it's not really a big deal.

Image

Here are all of the pictures from today.

6/18/2014

The UPS guy showed up today. Everyone loves the big brown truck! Brand new clutch kit with a lightweight flywheel. The flywheel is only 10.3 pounds vs. around 18 pounds for the stock flywheel. This should help the engine rev more quickly and make the throttle more responsive. The clutch is rated to 318 lb-ft of torque, so it'll be up to the task when we start doing power adds. More stuff is expected to come tomorrow and Friday. This should be a very busy weekend with all of the new parts.

Image

6/19/2014

The package from Arlington Mazda came today. I ordered a bunch of gaskets, hoses, belts and boots. Boris says it is the best place to get Mazda factory parts. They offer nice discounts, as we saved about 17%. Now I'm just waiting on the new radiator and fans. Those should be here tomorrow.

6/19/2014

Dad's friend Nolan just got the shocks and springs back to us. He has a commercial spring compressor, and they look way better than our attempt to press them back together ourselves.

Image

6/22/2014

This weekend, I planned to dive into the wiring disaster, but due to scheduling issues, that plan was a bust. Boris did come over on Friday and predicts that the entire wiring harness will have to be transferred from the '96 to the '94. Whoo Hoo... Although I guess it's just more education for me. I did work on more cosmetic things. Dad and I bought new Duralast Gold brake pads. We also took the calipers and sanded and painted them green (surprised?). The wheel wells I refinished black - a huge improvement from the dirty look before. Yes it will probably look that way again over time, but for now it looks nice because race car. :) I also painted the differential silver and have some left over for the valve cover and intake manifold. I was going to try and get the front shocks mounted, but Dad and I ran into a little mishap - partially my fault. The rear calipers on the '94 were giving us serious grief with the new brake pads, so we refurbished the ones from the '96 and used those. Unfortunately, when attempting to remove the E-brake bracket from the caliper, I hurt Dad's wrist. He was holding the caliper with both hands, and I was using the socket wrench. At first I could not break the bolt free, so I added an extension to the socket driver and tried again. This time the bolt broke free but so did his wrist, and well the rest is history.

Image

Here are all of the pictures from today.

6/28/2014

Since the destination body has a bogus wiring system, I've decided to pull the entire electrical system from the 1996. This required us to remove the steering wheel, dash, and all HVAC components. To my surprise, removing the electrical components was pretty easy. I did find out that all air bag components had been removed from this car. I'm working on getting replacements because my parents don't want me driving it on the street without them.

Image

Here are all of the pictures from today.

6/29/2014

Today I disassembled the dash on the '94, removed all of the old electrical, and installed all the fresh wiring harnesses from the 1996. Everything went smoothly.

Image

Here are all of the pictures from today.

7/1/2014

Today was really the first day this summer that I've worked without supervision. I didn't get a ton of stuff done, but I removed the rear bumper and bumper cover. I plan on putting those on craigslist and eBay to recover some of my investment. I've started accumulating all of the spare nuts and bolts in a gallon milk jug. Boris says I will always need those down the road. I should be able to start cutting up the body this weekend and taking it to the recycler. My dad's friend left his truck with us for 10 days, so we want to take advantage of the opportunity, not to mention that Mom would like her garage space back. :)

Image

Here are all of the pictures from today.

7/2/2014

I continued scavenging parts off of the '96. Just about anything that I unbolted can be sold. I was able to get both doors off, along with the driver's side fender and fender liner. I'm taking the interior door panels off of this car and putting them onto my car. Boris taught me a neat trick on how to remove the manual window cranks with a towel, making the task relatively painless.

A really nice thing happened today. Scott, the guy who sold us the '94 body allowed us to have the passenger side airbag and my dad picked that up tonight. Dad had already bought the driver's air bag from eBay, and it arrived in today's mail. Additionally, Scott permitted Dad to drive home his Miata, so that we can remove the dash tomorrow and remove the airbag control module. In exchange, we will put in the skeleton dash cover that came in my body into his car.

Image

Here are all of the pictures from today.

7/3/2014

Today Dad and I worked on Scott's car. We removed the dash, the passenger airbag, and the airbag controller computer. We put the hollow passenger faceplate back into his car, put the dash back together, and returned the car to him.

The cool thing about today's dash removal and reinstallation was that I wasn't reliant on any instructions. I'm like a dash pro now, yet while I have the bolt sizes memorized, the wiring harness connections and the top dash bolt always like to be aggravating. A 1/4" socket clamped by vice grips seems to solve that dash bolt dilemma. I tried a swivel ratchet, but it wouldn't clear the glass.

Image

Here are all of the pictures from today.

Cutting the windshield frame off.

7/4/2014

Happy 4th of July!! Today was a shorter day because we went to the Sanibel parade in the morning and fireworks this evening, but I still made decent progress. We removed the steering rack; Dad refurbished it, and I bought some new tie rod ends. The ones on both cars were all dried and cracked, and the grease was coming out. After removing the rack, I was able to drop the front subframe, which I plan on refurbishing and selling. I took off the brake booster, master cylinder, clutch master cylinder, and the entire steering column and pedal set. Since I'm too short, Dad took control of the sawzall and started cutting up the rear of the car after removing the gas tank, but I still cut my fair share of the car up. We got the right rear quarter panel cut off, but not before breaking all of the remaining blades. We'll have to make a Home Depot run tomorrow to get some more. The plan is to get the entire car cut up tomorrow and hauled off to the scrap yard since still we have a friend's pickup truck. I might have fallen asleep under the car. :P

Image

Here are all of the pictures from today.

7/5/2014

The long holiday weekend continues and I made extraordinary progress today. I finished cutting up the '96, and we took it to the junkyard. There are still more pieces to take, but we registered 440 pounds of steel, for a whopping $46!! Boris came over, and I reinstalled the HVAC unit, dash, differential, lightweight flywheel, clutch, pressure plate fresh rear main seal, and cam angle sensor O-ring. After the engine was dropped (exciting!!!), we removed the valve cover and reconditioned it and painted the intake manifold. I got a few fresh cuts, hope they scar! They'll make great mementos of the build. :)

Image

Here are all of the pictures from today.

7/6/2014

The car is really starting to look like a car again. Today we got the gearbox and drive shaft mated to the engine and differential. I got the rest of the dash in and steering wheel on; I installed the nicer speakers from the '96 which required custom holes. While I finished the driver's door, the black electrical tape (for wire splicing) ran away from me, so the passenger door must wait until tomorrow.

Image

Here are all of the pictures from today.

7/12/2014

I wasn't super productive today, but accomplishments were worthwhile. Most importantly, we returned the engine hoist back to its owner and rewarded ourselves, for the painstaking efforts of transport, with lunch (altogether a three hour ordeal). Other than that, I vacuumed the interior, changed the passenger seat hardware between the '96 and the '94 due to rust, and installed the passenger seat, hood, and front shocks. I also put in the brand new front fender liners. Lastly we took the remaining scrap metal to the scrap yard; between last weekend and this weekend, I netted almost exactly $100. Not too shabby for a $600 car.

Image

Here are all of the pictures from today.

7/13/2014

We only accomplished two major tasks today, they don't look substantial, but they were super time consuming. Since the wiring system, along with the steering rack went from the '96 to the '94, the ignition key no longer matched either door or the trunk. Additionally, the '94's driver door handle had a tendency to stick. Therefore, I removed and replaced the door handle mechanisms between both doors on both cars, along with the trunk latch. The trunk latch required the license plate panel to be removed, but it was pretty easy. The doors were a pain in the butt, but I managed. Now the '96 keys work in all four places. Now that the door locks are done, I was able to move the more desirable '96 interior door liners over, so the doors are now 100% complete. Boris didn't show up with my axle until after eight, so I didn't get to finish the rear suspension, but that's what tomorrow is for!

Image

Here are all of the pictures from today.

7/14/2014

Today I successfully re-pinned the O2 sensor that connects under the driver's seat to the exhaust, which allowed me to complete the wiring and install the driver's seat. Afterwards, I decided to swap fenders. It was pretty beat up when we got it, but my dad scratched it some more when we reinstalled the hood. On his suggestion, I compared the fender from the '96 to the one on the '94 body, and it was in way better shape. The '96 fender still has some minor dents, but Dad and I did our best to roll those out with a heat gun and a large roll of masking tape. I removed the bad fender and installed the nicer one.

Scott was looking for his old turn signal lights back (He converted them to headlights before we bought the car, which was an issue for us, especially considering both stock ones were broken on the '96 from the accident). Scott agreed to buy me new lights in exchange for his modified lights, and he was also looking to get his driver's seat back, since the one in his black Miata is pretty torn up. He'll also give me the missing front end impact sensor that we failed to scavenge from his car when we borrowed it.

Image Image

Here are all of the pictures from today.

7/15/2014

Today I successfully installed both rear axles and shocks, meaning the rear suspension is virtually complete with the exception of the sway bar. We had to make a run to AutoZone to get a new A/C condenser and accumulator, saving $20 because racecar.. I mean rewards card. :). I planned on installing the rear sway bar but ran out of time before Tae Kwon Do, and I lost some time when we tried to go to the store because Dad's Vette window shattered by some unexplainable force of magic and sorcery.

Image

Here are all of the pictures from today.

7/16/2014

I installed both the front and rear sway bars. I did need Dad's help to hold the front sway bar to get the bolts started, but I finished the rest on my own. Afterwards, I replaced the two shifter boots with new ones that have been sitting in talcum powder for two weeks with the assistance of axle grease. It took a bit of internet research to figure out how to install them, but all was successful.

With the shifter in place, I focused on reinstalling the center console; the console from the '94 proved to be the nicer one, so I switched lock mechanisms before I screwed the new one in. The little rubber gasket that surrounds the gas door and trunk releases was torn on the '94, so I moved that over as well. Center console completed, I used some Armor All and put the false steering wheel front in place for some pictures. Shy of the glove box and the dash plate under the driver's knees, the interior is now complete. It's starting to look like a car again instead of a time capsule!

Image Image

Here are all of the pictures from today.

7/17/2014

Today wasn't super productive, but I did successfully reinstall the windshield washer fluid reservoir/pump, along with both of the A/C lines that pass through the passenger firewall. Additionally I installed some type of electrical box that goes on the driver's side inner fender near the master cylinder. I tried to start installing the A/C compressor and the power steering pump, but a metal tube coming off of the steering rack was in the way. I was unable to break the nut free, but Dad consulted with the Miata forum, MX-5 Miata.net, and we successfully broke it free later in the evening; I should be able to focus on the accessories and the exhaust tomorrow.

Image

Here are all of the pictures from today.

7/18/2014

Today I installed the A/C compressor and the power steering pump and connected the appropriate hoses. The power steering pump has some play, so I'll have to tinker with it. I also convinced Dad to take me to AutoZone to buy extremely heat resistant paint for the exhaust. He originally bought the manifold tape wrapping, but I thought it looked kind of cheesy. Following my paint scheme, I bought blue (for Leonardo) and silver paint, and we wire wheeled the exhaust pipes and manifold; although he started to paint, it started raining, so we'll have to finish tomorrow. I would paint, but for parts as visible as the manifold, I don't want to have the drip marks of an unsteady paint job that I tend to make. I'll improve with practice.

Image

Here are all of the pictures from today.

7/19/2014

Today Dad finished the painting: blue for the pipes and silver for the heat shields and catalytic converter. I love it - a huge improvement from the rusted hopelessness of what was. I installed the freshly painted heat shields, and we also tag teamed cleaning the garage; after a month, Mom can once again park in the garage. One of the pressed bolts that connects the exhaust pipes broke when I uninstalled the exhaust from the '96, so we have to buy another one tomorrow, but in order to take the broken one out, I had to drill through it and sawzall it after torching and freezing it didn't work. Destruction! Scott also sent me a text yesterday that the turn signal lights came in, so he'll be at the house tomorrow.

Image

Here are all of the pictures from today.

7/20/2014

Scott came at one this afternoon to swap seats and turn signal lights; although he didn't have the airbag sensor I needed, he did give me the plastic headlight wrap and the mounting bracket for the power steering pump. The mounting bracket turned out to be the problem as the stopper was jammed, and now the pump is securely in place. After he left, Dad and I installed the exhaust pipes and manifold, attached with assistance of a new bolt to replace the broken pressed one. I adjusted the placement of the wiring on the passenger side and installed the turn signal lights; they move when I push on them, but Dad said not to mess with it since he didn't want me to strip the screws. I also installed the front support bracket and cleaned up the rear one that's waiting on two 17mm bolts before installation. Unfortunately, I won't have any time to work this week, but hopefully the end is near!! :)

Image

Here are all of the pictures from today.

7/26/2014

Today I didn't get much done as I am running out of things to do (which means the car is almost done!!!). I planned to install the radiator, but there were no mounting brackets and the fans don't fit on the radiator. I did install the intake, although I wanted to wait until the radiator was in. I also installed the sub-frame support braces, a new clutch master cylinder, and Dad helped me with the belt.

Image

Here are all of the pictures from today.

7/27/2014

Today Boris came over and we made a lot of progress! With his assistance, I fabricated mounts for the condenser and accumulator and attached the fans to the radiator via, wait for it.... industrial zip ties! Now that the radiator is installed, the engine bay looks great; all the wires are in place and, although I had to remove the intake (I was right!), it wasn't a big deal. Other than that, we tried to fire up the engine, but unfortunately the '94 fuel pump wasn't sending fuel up to the engine, so I spent two hours researching which wire controlled what until I realized I had a .pdf version of the manual and found what I was looking for in two seconds. We attempted to troubleshoot, but Dad's battery voltage meter device was defective, so we called it a day. On a positive note, using starter fluid the engine sounded AMAZING, so I'm looking forward to getting it to 100% functionality. While I turned into a storage platform of sorts, I did sell the rear bumper cover and license plate frame (which was cracked) for $75.

Image

Here are all of the pictures from today.

7/28/2014

Happy Birthday to me! Today Dad and I bought all the fluids needed for automotive success and put in new coolant and oil. Before that, I replaced the faulty fuel pump with the one from the '96 I kept; I knew that one worked because I drove the now non-existent '96 a couple of months ago. So with those two accomplishments, guess what... the car didn't start! It died a few seconds after Dad stopped spraying starter fluid. After Tae Kwon Do, Dad and I tested our theory of mixed up fuel lines. After switching them, THE CAR STARTED! I think this counts as the best birthday present ever.

Image

First start.

7/29/2014

Today I messed around a bit with the car. Dad helped me install new headlight bulbs and a third brake light bulb. I also played around with the radio for a while with it's fancy schmancy LED color changes and radio presets that don't save once the car shuts off. -__- I also started the car a bunch of times and let it idle so the hydraulic lash adjusters would fill up with oil. Now that they filled up, the engine runs steadily and sounds so awesome when I rev the engine. I am a happy camper :P

Day 2 start. After several starts, the engine has now quieted down to a normal level.

7/31/2014

Today was a light day, but I did finish connecting up the A/C plumbing under the radiator and the tie rod ends to the hubs; best of all, I got my new Ninja Turtle seat covers installed, which I received for my birthday. I had to remove both seats to install the hooks, but that was pretty easy. I only have a few more things to do before I attempt to test drive the car, hopefully tomorrow! :)

Image

Here are all of the pictures from today.

8/2/2014

Today we filled up the differential and the gearbox, as well as installed all of the clips and springs in the brakes. We had to go buy new clips for the front, as some of them were beyond bent. After all of the fluids and brake hardware were in place, it was time to bleed the brakes, install the tires, and lower the car for the first drive.

First drive was a bust! :( Depressing the clutch would not allow me to engage a gear. I texted Boris and he said to bleed the clutch, and replace the hardware if necessary. We bled the clutch and it made an improvement, but I think I'm going to have to replace the slave cylinder. I'll do that tomorrow. Regardless, I WAS able to drive my car for the first time. It was awesome! After my short drive, I went ahead and washed the car and waxed it. The windows don't mate up very well with the roof, so I'll have to look into that as well.

Image

Some first drive videos from today:


8/20/2014

Last night Boris stopped by after he and my dad finished their autocross club meeting. He adjusted my timing, since he knows what he's doing and he has a timing gun. The timing was 18 degrees BTDC when he started and he adjusted it to 12. OEM spec calls for 10. My dad drove it today and said it is substantially better than it was before, and feels like it has considerably more power. He also said my shifter works perfectly. Maybe the notchy shifting is just due to the break in period on all of the new parts. I'm hoping the hydraulics have simply worked themselves out. If not, we're going to swap the gearbox oil with some recommended oil from Ford.

MISC. UPDATES

I had to change gearbox oil, which seemed to fix the issue. I also got the license plate TMNT WIZ! I tried to autocross Skittles (Miata's new name) February 7th, but the shifting becoming increasingly difficult. I bled the clutch again March 29th, but I'm still having issues. I will probably take him to a professional Mazda tech to help me figure out what's wrong. I also sold the doors without the paneling for $100. I've had parts on craigslist for months now without much luck, so I'll probably just take them to the scrap yard for recycling. Stay tuned for this coming summer's project: race prepping Skittles!

Summer 2015 Update

While I was too low on funds to race prep Skittles, I did get an internship at Prestige Foreign Car Repair, and the owner helped me tremendously not only with Skittles, but also with general automotive knowledge. Skittles' shifting is now smooth as butter, thanks to extending the shifting rod. Other noted issues with the car included a lack of A/C, the oil pressure gauge not working, a rattling noise, and a slow fuel gauge. The A/C needed an o-ring and to be charged. It's a great addition for Florida heat! We are still hunting down the culprit for the oil gauge. I changed the sensor, but that didn't fix it, so I have wiring diagrams for a '94 and a '96 and plan to see if there are flipped wires. The rattling noise was due to a rotted heat shield, which I pried off with large crowbar-looking tools. It took a little bit of time, but it was a lot of fun! The fuel gauge is still on the list. Finally, I changed the oil with the car on a lift. Lifts are the greatest things on the planet and make life so much easier. If only our garage had space for one! I learned so much from this summer, and I look forward to continue working with Prestige. While I didn't race prep Skittles, I did get him aligned, and he drives perfectly now. I hope to continue wrenching on him and, if I save up enough money, there may be a turbo in the near future. For now, however, he remains my weekend driver. Signing off for now! -G.A

Image